 CATEGORIES
- 2 Way Single Sided
- 1 way steel angle bracing-horiz-corner
- 1 way steel angle bracing-diag up-corner
- 2 way steel angle bracing-dia up-corner
- 1 way steel angle bracing-diag up-horiz-corner
- 2 Way Double Sided
- 2 way steel angle bracing-diag up-horiz-corner
- 3 way steel angle bracing-corner
- 1 Way Single Sided
- 1 Way Double Sided
- 3 Way Single Sided
- 3 Way Double Sided
- Horizontal-Diagonal Up Corner
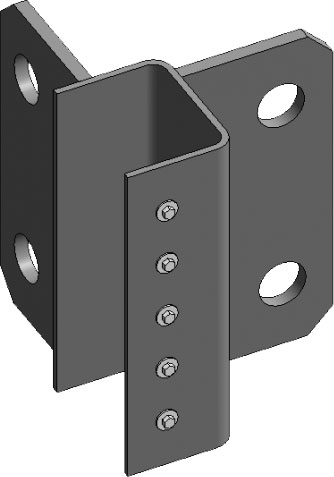
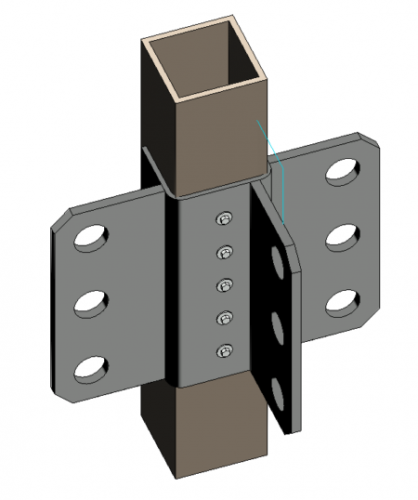
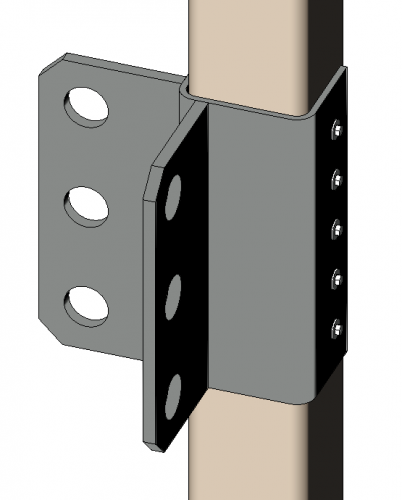
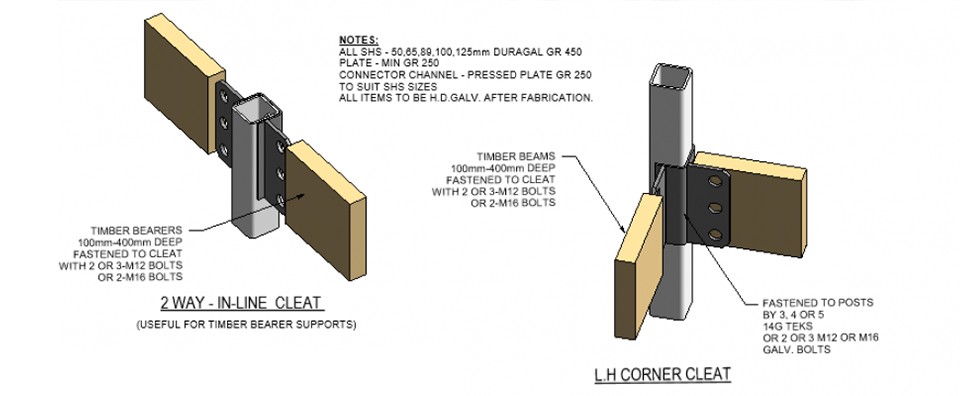
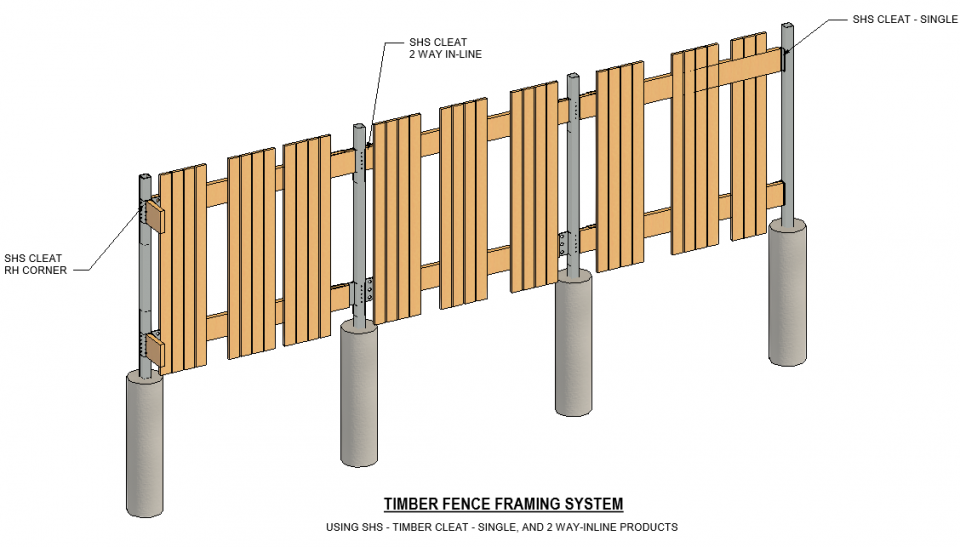
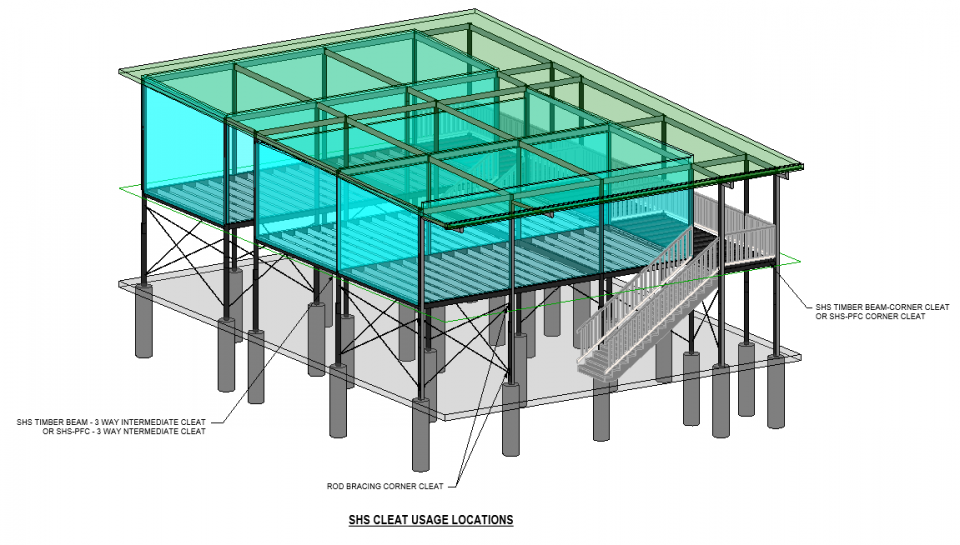
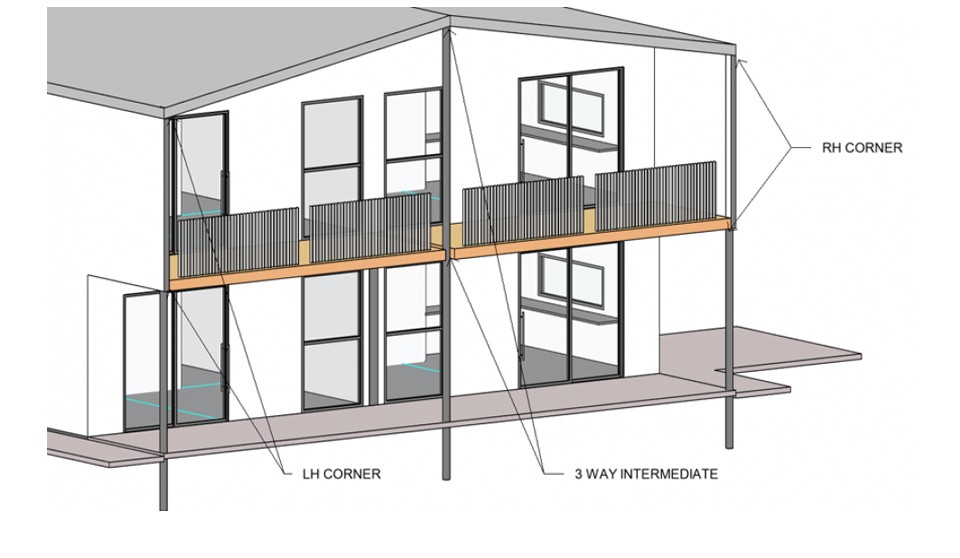
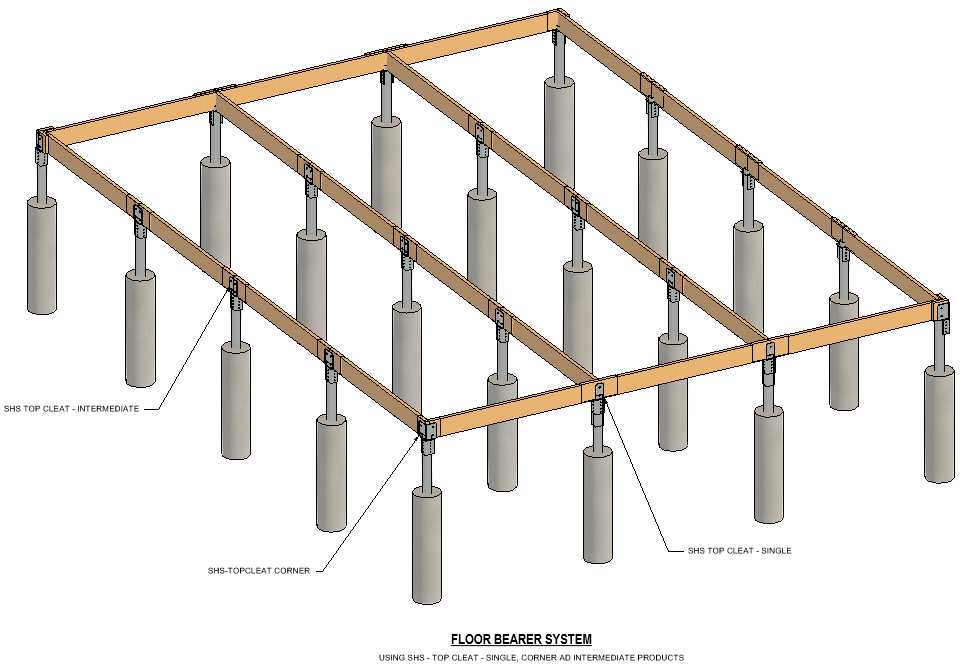

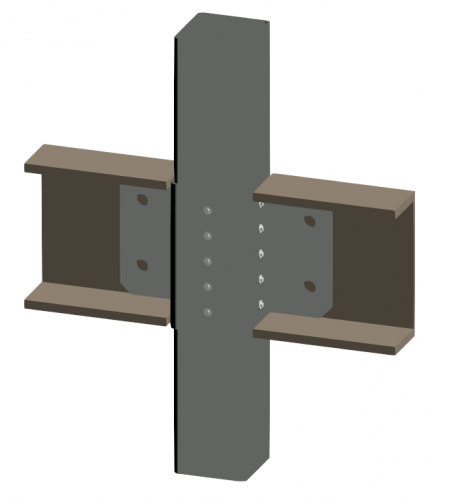
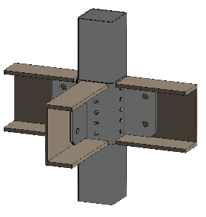
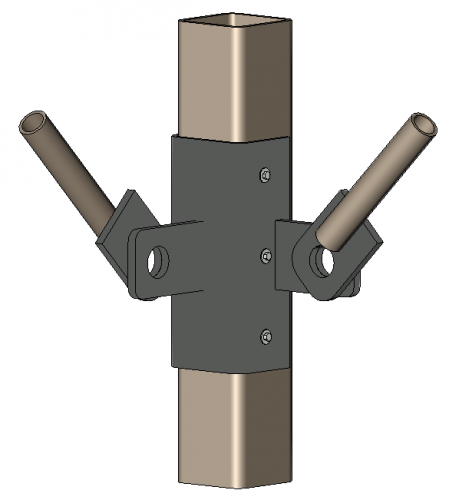
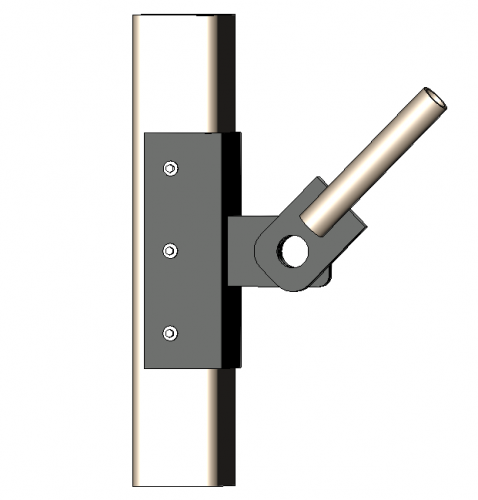
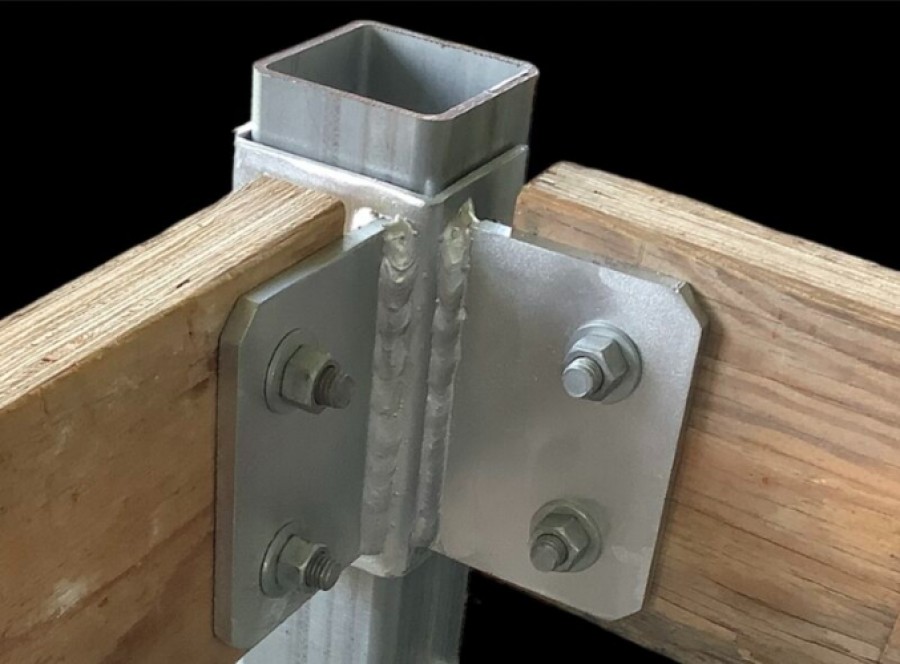
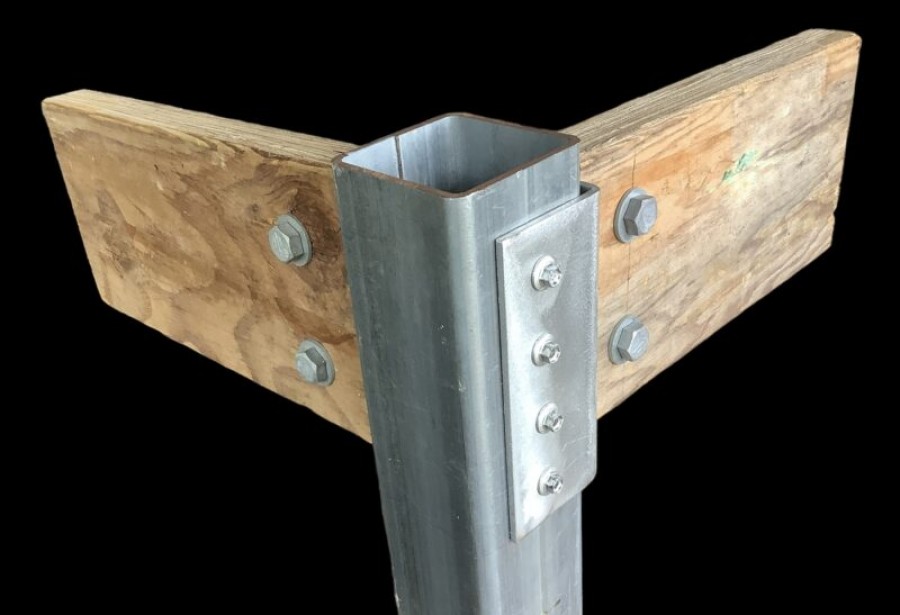
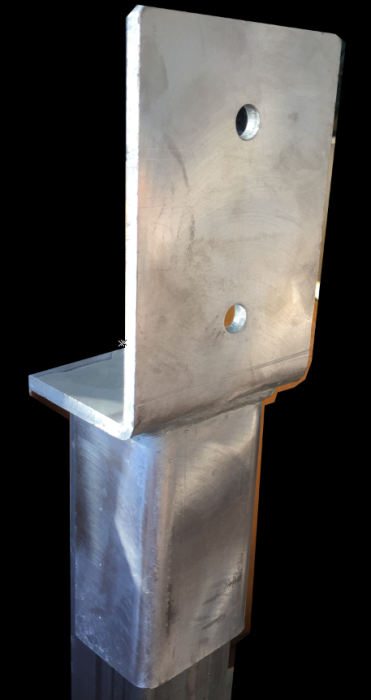
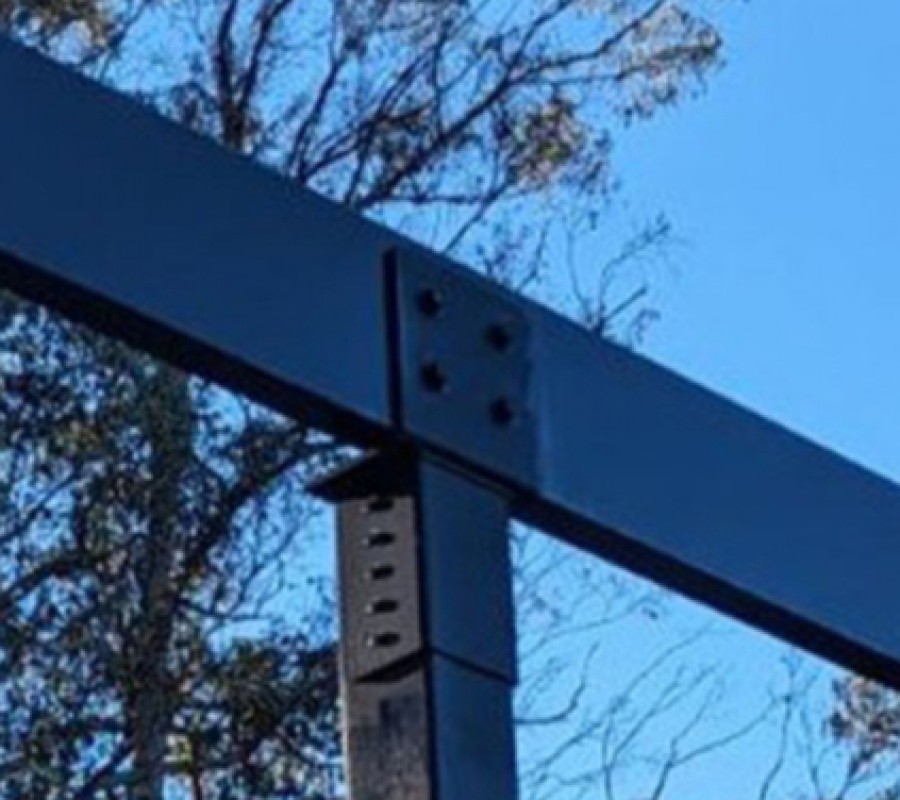
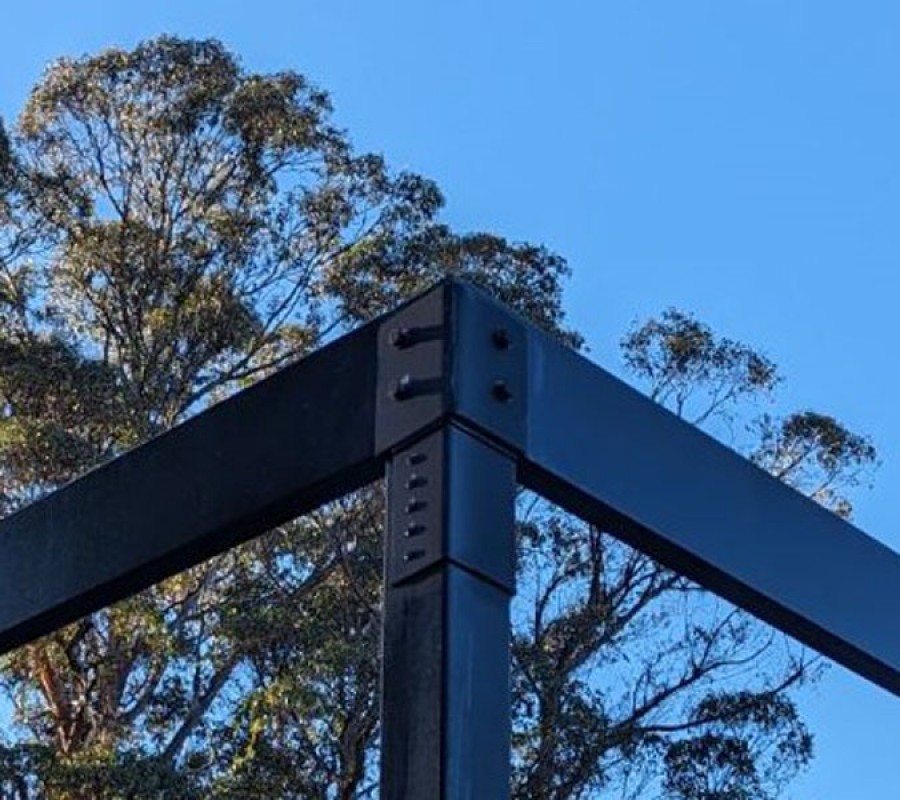
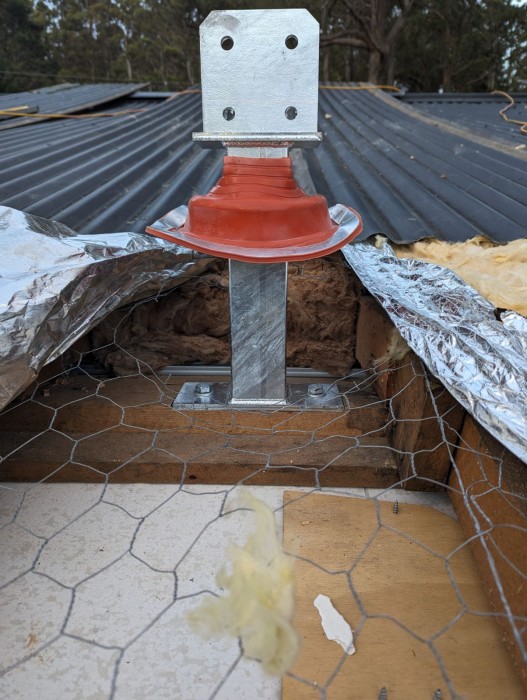
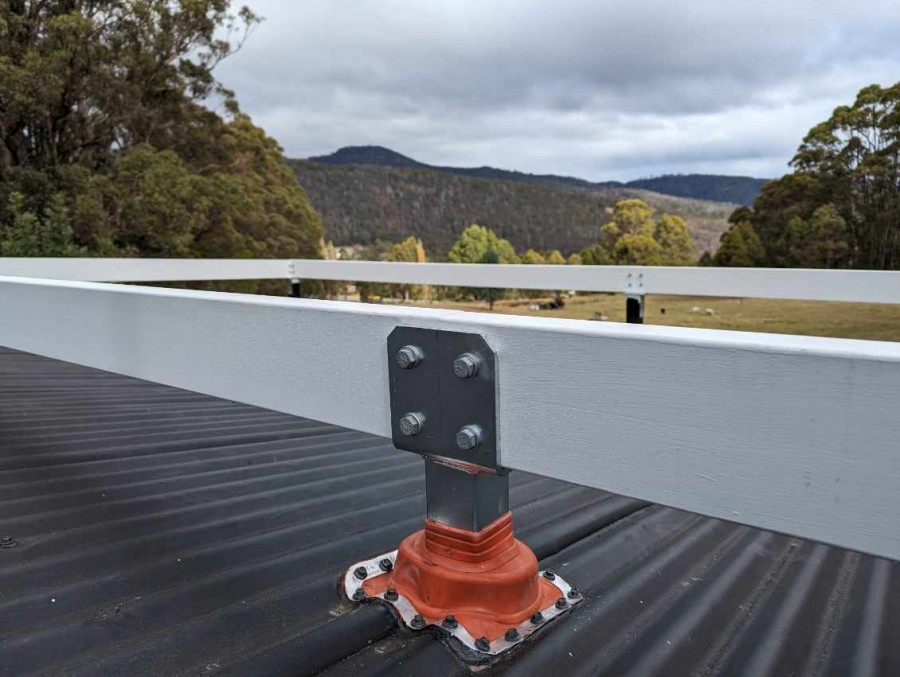
SHS cleats installation
A selection of SHS Cleats installed on site is available for viewing above.
Refer Installation procedures for each cleat type below.


Timber Beam Cleats
Most Builders will set a laser level for the top of the cleat, then slide the cleat up or down the SHS post with 1 hand then use 5-8 metal teks (series 500) on each of the 2 channel faces to temporarily fix the channel cleat to the column, then when all cleats are fixed they will stitch weld with a 5mm CFW down the 2 vertical edges of the SHS cleat channel against the SHS post for a length of 50mm top & bottom. This allows for maximum strength at the cleat connection. The cleat installation can be performed by a single person and is easily adjustable for height !
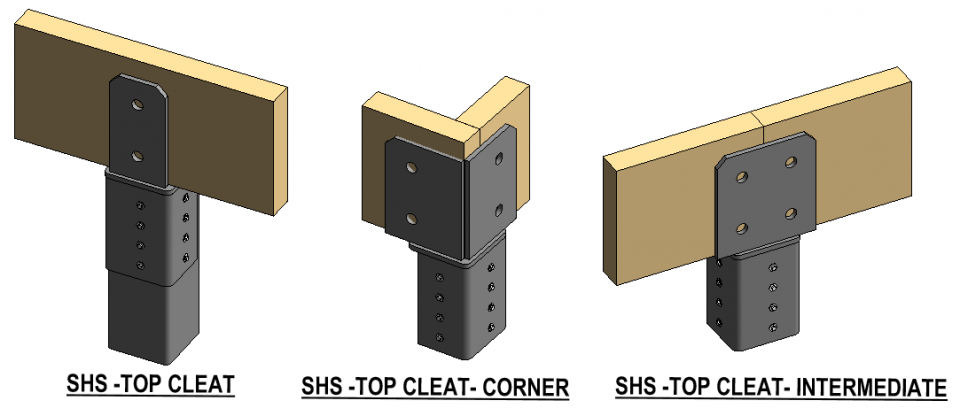
Top Plate Cleats
Set a laser level for the top of the SHS post and cut the top of the post level and 8mm to underside of the supporting beam level, then place the cleat on top of the SHS post, then level the to the correct height with per SHS 2.3 Or 4mm packers. Once you have the top plate cleat at the correct height, then screw 5 metal teks (series 500) on each of the 2 channel faces to fix the channel cleat to the column.
10 Tek screws will take approx. 30kN of allowable roof uplift force.
Should you need a greater uplift force capacity then stitch weld with a 5mm CFW down the 2 vertical edges of the SHS cleat channel against the SHS post for a length of 50mm top & bottom. This allows for maximum strength at the cleat connection. The cleat installation can be performed by a single person and is easily adjustable for height with our SHS packers prior to fixing the teks to the channel.
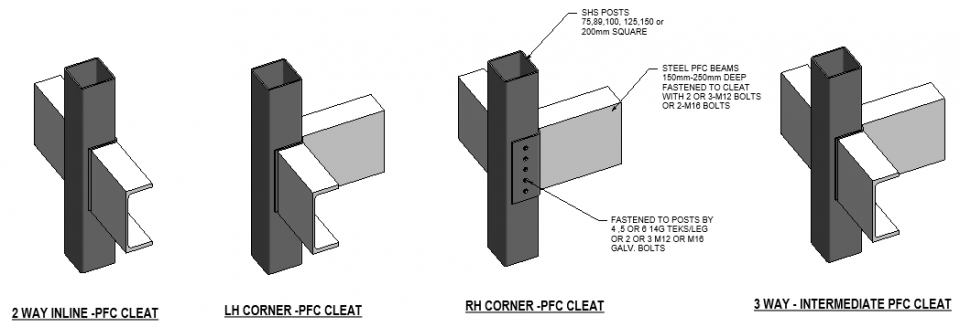
PFC Beam Cleats
Most Builders will set a laser level for the top of the cleat, then slide the cleat up or down the SHS post with 1 hand then use 5 metal teks (series 500) on each of the 2 channel faces to temporarily fix the channel cleat to the column, then when all cleats are fixed they will stitch weld with a 5mm CFW down the 2 vertical edges of the SHS cleat channel against the SHS post for a length of 50mm top & bottom. This allows for maximum strength at the cleat connection. The cleat installation can be performed by a single person and is easily adjustable for height !
Baseplates
Tek Screw the baseplates to the column via the 2 C – channels. The C-channels welded to the baseplate come in 3 lengths ie, 80mm,110mm or 140mm thus allowing for either 4, 8 or 12 teks screws into the side of the shs post.
Each tek screw can take approx. 3kN in uplift force thus 4 teks = 12kN, 8 teks = 24kN & 12 teks =36kN, If you require a greater uplift force than the above you should also then stitch weld with a 5mm CFW down the 5mm vertical gap between the 2 c-channels and the shs post on both sides for a minimum length of 50mm top & bottom. Leaving a 5mm gap at the bottom of both sides & use a 5mm v-notch or drill hole in the bottom of the shs post both sides should you require a drainage outlet in case water gets into your shs post.
For posts and baseplates going into a pier footing in the ground apply a bitumen seal all around the post and baseplate that goes into the ground till 200mm above the ground level on the shs post.
Top Plates
Tek Screw the top plates to the column via the 2 C – channels. The C-channels welded to the top plate come in 3 lengths ie, 80mm,110mm or 140mm thus allowing for either 4, 8 or 12 teks screws into the side of the shs post.
Each tek screw can take approx. 3kN in uplift force thus 4 teks = 12kN, 8 teks = 24kN & 12 teks =36kN, If you require a greater uplift force than the above you should also then stitch weld with a 5mm CFW down the 5mm vertical gap between the 2 c-channels and the shs post on both sides for a minimum length of 50mm top & bottom.
Bracing Rod Cleats
Mark a level on the shs post for the top of the cleat, then slide the cleat up or down the SHS post with 1 hand then use 5 metal teks (series 500) on each of the 2 channel faces to temporarily fix the channel cleat to the column.
If a permanent and higher tensile load than 30kN is required per bracing rod then stitch weld with a 5mm CFW down the 2 vertical edges of the SHS cleat channel against the SHS post for a length of 50mm top & bottom. This allows for maximum strength at the cleat connection. The cleat installation can be performed by a single person and is easily adjustable for height !
Steel Angle Bracing Cleats
Mark a level on the shs post for the top of the cleat, then slide the cleat up or down the SHS post with 1 hand then use 5 metal teks (series 500) on each of the 2 channel faces to temporarily fix the channel cleat to the column.
If a permanent and higher tensile load than 30kN is required per bracing rod then stitch weld with a 5mm CFW down the 2 vertical edges of the SHS cleat channel against the SHS post for a length of 50mm top & bottom. This allows for maximum strength at the cleat connection. The cleat installation can be performed by a single person and is easily adjustable for height !


 Login / Register